We design Ready-Made Coaching Tools
that you can start using with your clients TODAY
Are you ready to start today?
Here are five free coaching tools to get your business started
Just click the button below
Are you feeling lost about how to get your coaching business started?
Are you quite happily coaching Pro Bono, but the thought of asking for money, or worse, selling high-ticket coaching products, just leaves you cold?
Your Paragraph text goes Lorem ipsum dolor sit amet, consectetur adipisicing elit.
Are you stuck in a day job you hate and desperately want to help others live their best life... BUT, you just can't force yourself to take action on your heart-centred business?
Are you wondering if starting a coaching business is the right direction for you to head?
Choose the right SOLUTION for you!

Is starting a coaching business right for you?
Find clarity about your life coaching career direction while you develop a firm foundation
upon which to make your decision
Tools to help get your business moving!

Templates
Get your business
professionally organized

Toolkits
Instructions for how to do business tasks
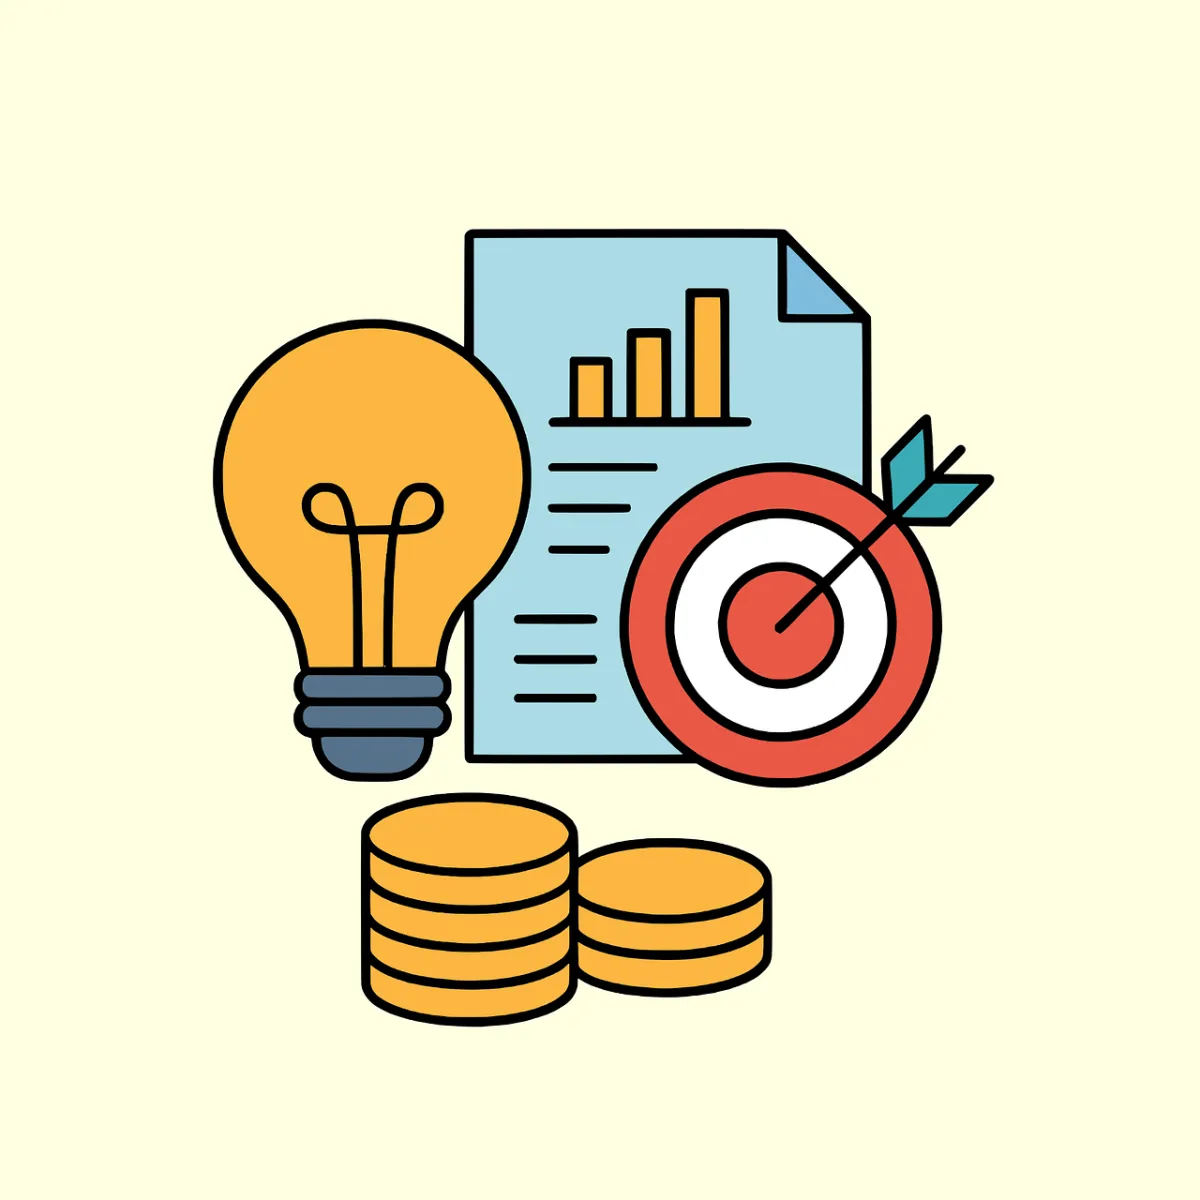
White Label EBooks
Label them as your own and edit to suit your business needs

PDF EBooks
Just for you to read and learn
Here's What Our Clients Are Saying...

Debbie Kegan
Life Coach

Highly recommended
Thank you for the templates!! I just wanted to let you know how helpful they were!
I highly recommend them to any coach starting out. It is in my opinion worth the small investment! Thanks again.

Mark Flory
Spiritual Interpreter/Life Architect
Awesome tools
I just wanted to thank you for the awesome tools Universal Coaching Systems has provided me with for working with my clients.
I recently did a workshop using the Pathfinder Program and many of the participants left with a renewed sense of who they are and definitely have a plan of action for moving forward in life.
Thank you for providing such a wonderful resource to help those find direction again in life.
Rose Harvey
Founder and Director, Bouncement
The Pathfinder Program is a fantastic resource!
The Pathfinder Program is a fantastic resource! It 's allowed me and my business partner to easily bring structure and clarity to our coaching offer. It's saved us a lot of time and struggle. It's really amazing value, I can't thank you enough.
The Ultimate Kit to get your Business Set Up
Includes a Book to Rebrand as Your Own for You and Your Clients
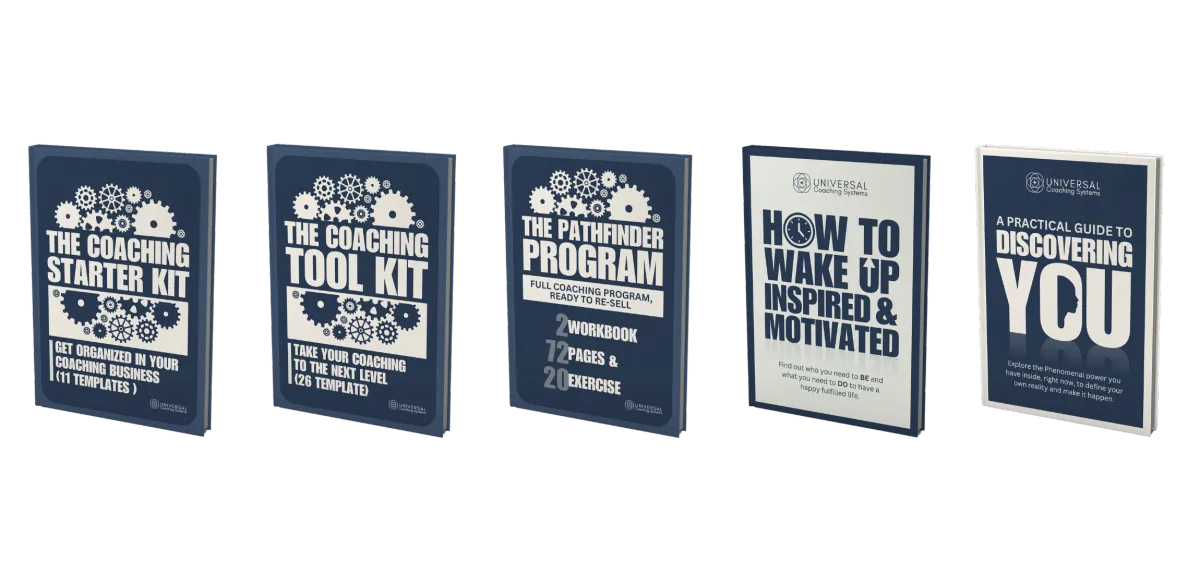
Our Best-Selling Value Bundle
The Coach
Kick Start Pack
All the white label coaching tools, templates and more in this one bundle ready for you as a digital download immediately, brand as your own, and begin to on-board and work with clients today!
Here's a closer look at what's included in the Coach Kickstarter Pack
(each can be bought separately)
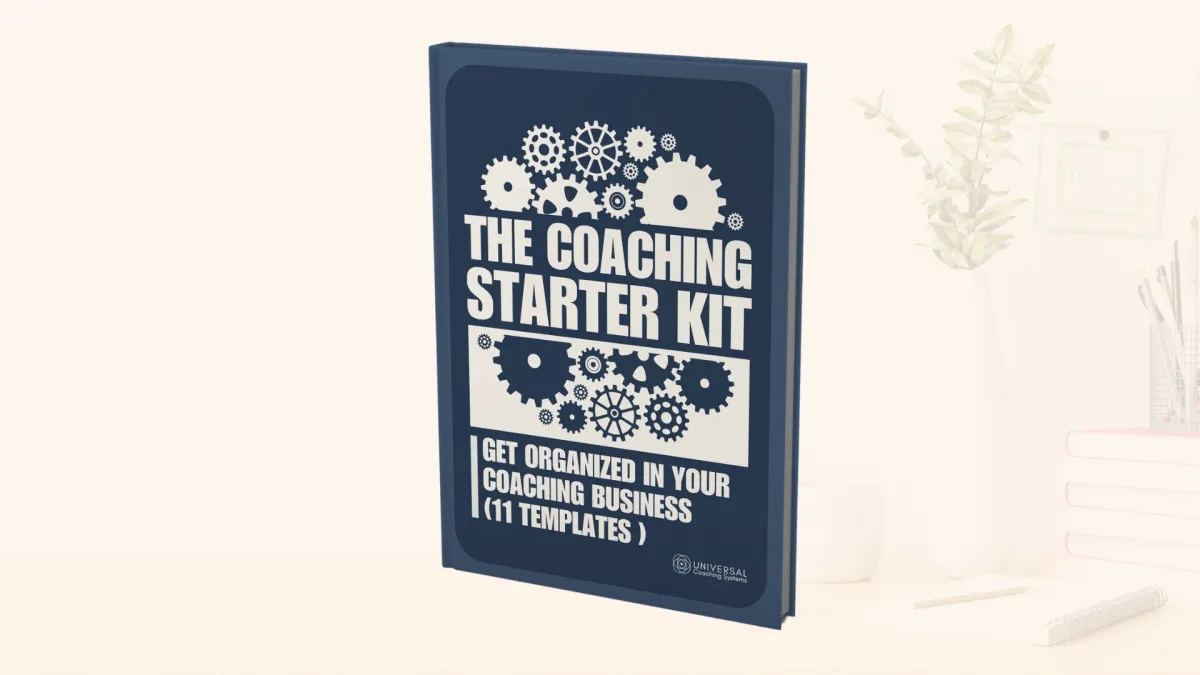
The Coaching Starter Kit
Save yourself time and get organised FAST
Core business documents to convert prospects to clients and professionally mange them from day one.
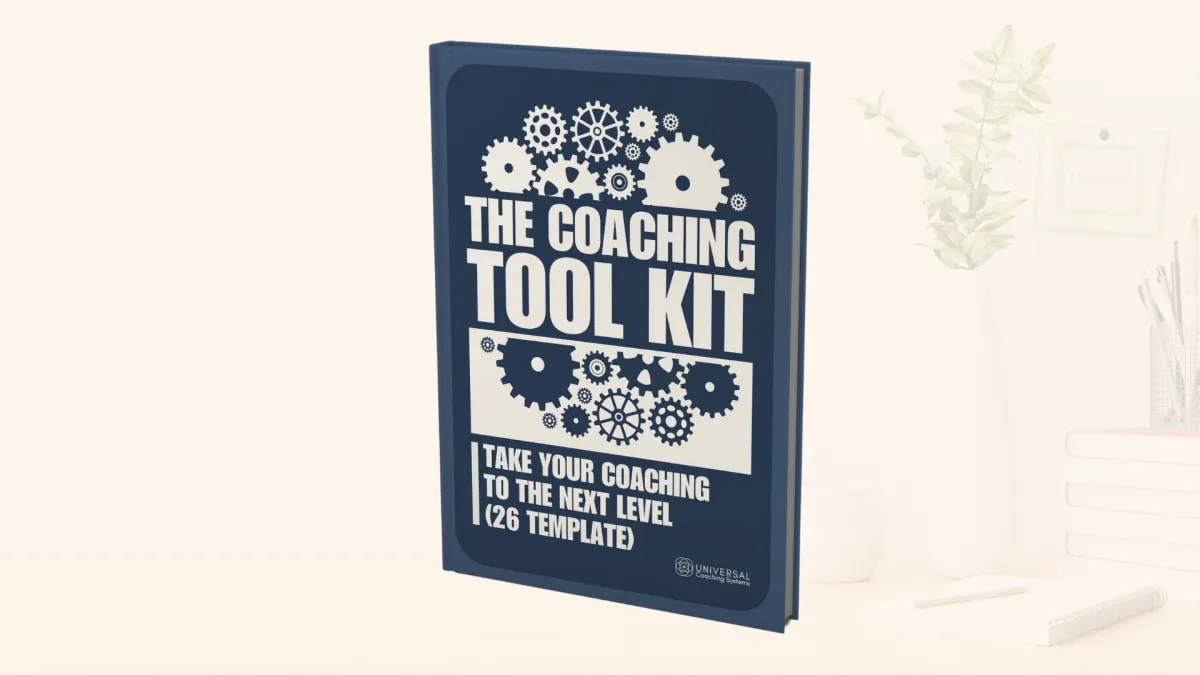
The Coaching Tool Kit
Steal our coaching tools and use them in your coaching practice
Grab these 26 invaluable coaching tools that you can re-brand and use with your clients.
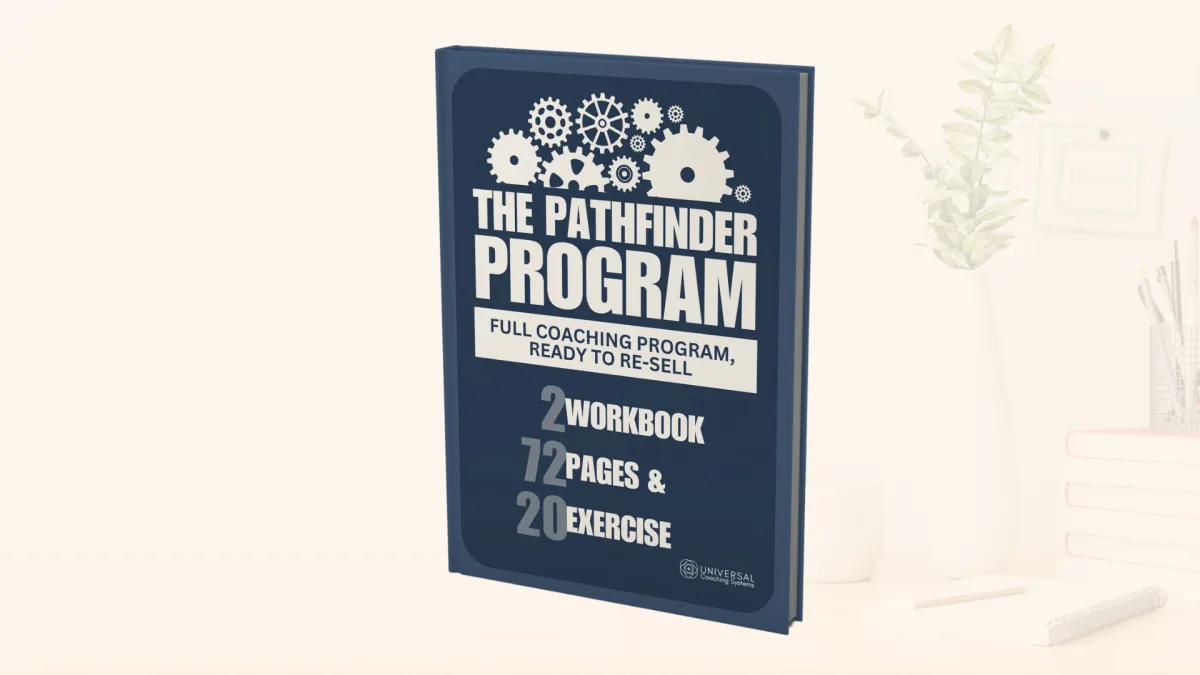
The Pathfinder Program - Editable
Amazing Personal Development Program Ready to Re-Sell
This covers the foundational material that every day life coaching client needs as part of his/her personal development.
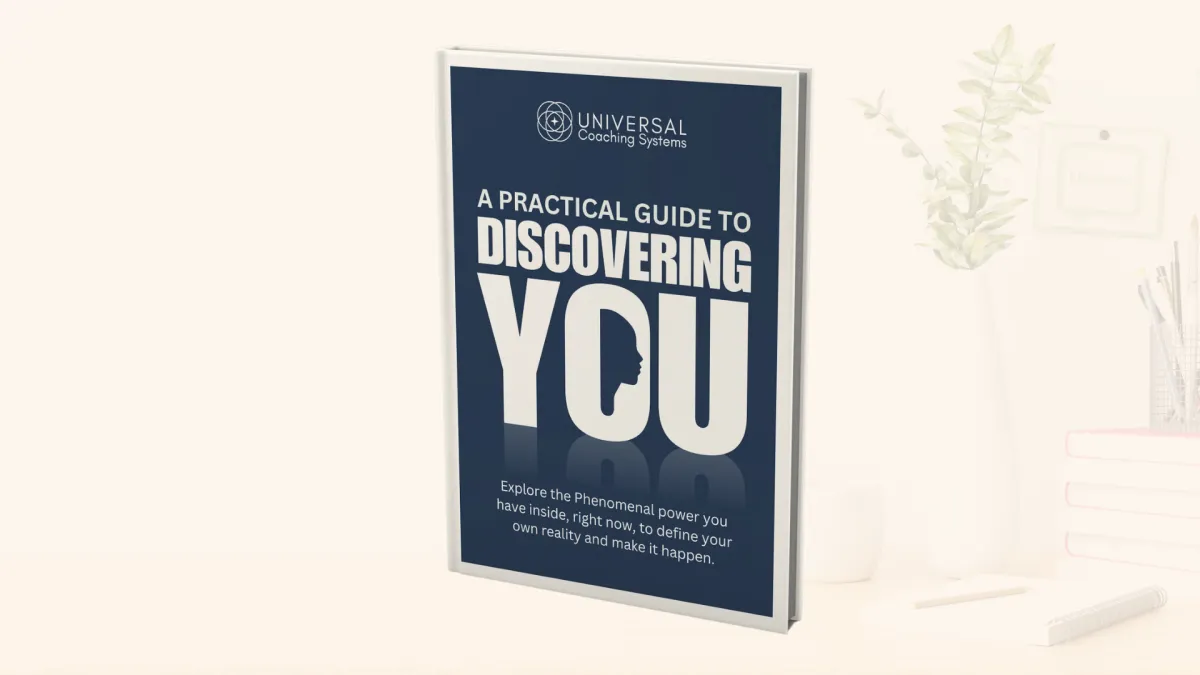
Discovering You - PDF
A Self Discovery Program For Your Clients
Help your clients discover their phenomenal power they have inside, right now, to define their own reality and make it happen.
(Editable version now available).
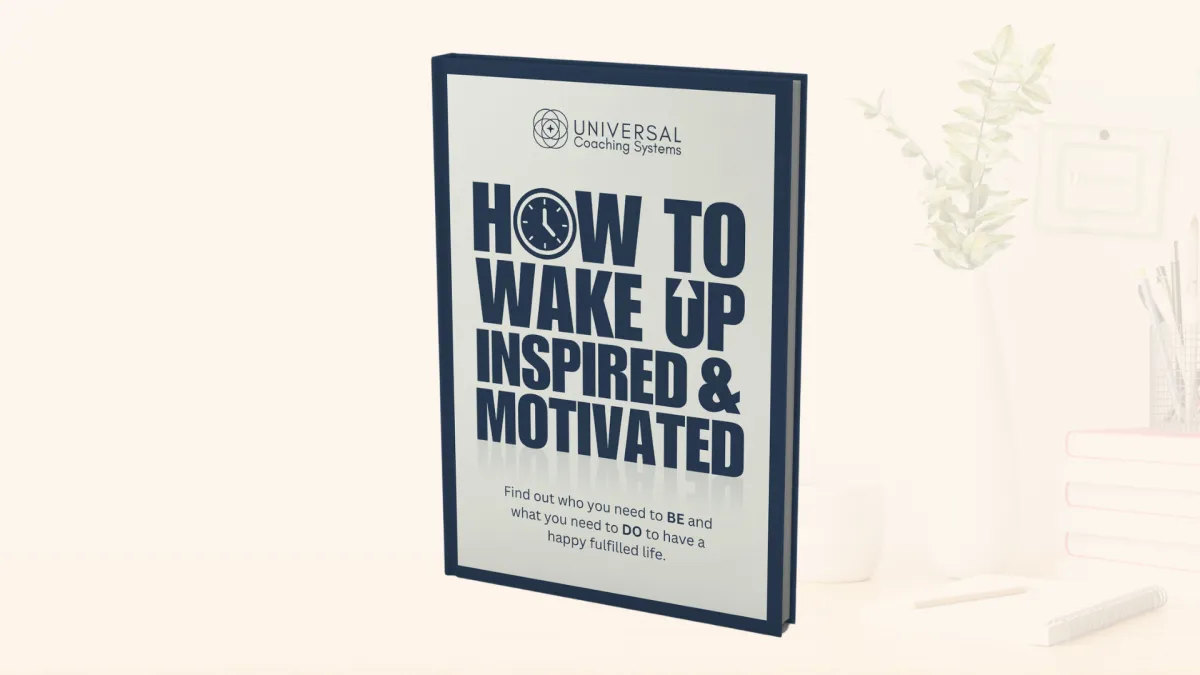
How to Wake Up Inspired and Motivated - PDF
Success Mindset and Goal Setting Program For Your Clients
A comprehensive guide to personal success consisting of 59 pages of lessons and worksheets. Clients learn the 7 qualities of the success mindset and how to create a detailed personal development plan.
I'm on a mission to help coaches get their business unstuck.
I've been there myself. Desperately wanting to leave a job that wasn't fulfilling. I had a psychology degree and years of experience as a trauma counsellor and thought it would be easy to get a coaching business up and running. I couldn't have been more wrong.
When I started to struggle, I bought some coaching templates and that helped me get my business more organised and I was able to start coaching with Pro-Bonos.
However, whenever I tried to start posting on social media, my mind would go blank...
And when I thought about charging for coaching, I thought with my experience I should be charging a reasonable amount... But... The thought of actually asking people for money, or marketing the fact that I was selling coaching sessions just locked me right up. I couldn't bring myself to do it.
I spent a lot of time wondering whether I should just give up and go back to being an employee...
It was only when I went through a coaching program about changing my mindset about valuing myself, valuing my skills and valuing my experience that I was able to get working on my business.

I started posting regularly and created a podcast called Get Your Dream Business Unstuck.
And in June 2023, I bought the template business Universal Coaching Systems (UCS) from which I'd bought the template package back in 2017. I knew that the UCS products would absolutely be perfect to go alongside my mindset coaching, to help my clients get their coaching businesses unstuck.
I love being a part of helping coaches with Ready-Made Coaching Tools, so they can hit the ground running with their clients from Day One.
And I’d love for you to check out our suite of Ready-Made Coaching Tools and see which ones will help you and your clients get off to a flying start!
If you are one of many coaches who would like my personal support in determining the right direction for your coaching career, I have some availability and invite you to book in a call with me today.
Jenny Williams
CEO Universal Coaching Systems

100
Total DFY Templates

1000
Active Readers

1200
Facebook Fans

5000+
Subscribers

How to Write a Meaningful About Page for Your Coaching Website
I am always curious to know the origin story of businesses, and the people behind them. The About Us / About Me page is one of the first sections I like to visit when considering purchasing a product ... ...more
Coach Websites and Tech
November 19, 2024•9 min read

Co-Creating Coaching Contracts with your Clients
I’ve always thought of writing as a process that helps clarify and solidify things. One of the best ways to clarify goals, expectations, and actions within your coaching program is to create a coachin... ...more
New Coaches Start Here ,Coaching Skills
November 19, 2024•8 min read

6 Tools to Prepare your Virtual Environment for Deep Creative Work
We all know why it’s important to create a distraction-free environment when diving into deep work (any work that requires prolonged, deep focus.) Writing is no exception. ...more
New Coaches Start Here ,Coach Mindset
November 19, 2024•9 min read
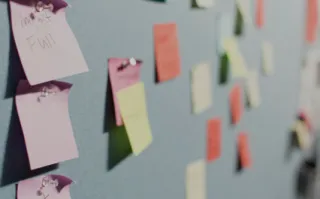
Intention-Setting: Prayers on Post-It Notes
I came across a quote while browsing Instagram (sorry, there was no attribution) that says: “Your diet isn’t just what you eat and drink: It’s who you talk to, who your friends are, what you watch, wh... ...more
Coach Mindset
November 19, 2024•6 min read
How to Create an EBook Cover in Canva
You have finished writing an eBook for your coaching clients and to create passive income. The hard part is done, but how do you want to present the book? ...more
Creating Coaching Products
November 19, 2024•5 min read

10 Ways to Get Traffic to Your Coaching Website
What’s the point of having a website for your coaching business if no one sees it? Does your website feel like the tree that falls in the forest and no one is around, does it make a sound? ...more
Marketing for Coaches ,Coach Websites and Tech
November 19, 2024•6 min read

Copyright 2025. Universal Coaching Systems. All Rights Reserved.
Website Hosted & Designed by OmniSAM